DIY Mans Messenger Bag (post sponsored by Volkswagen)
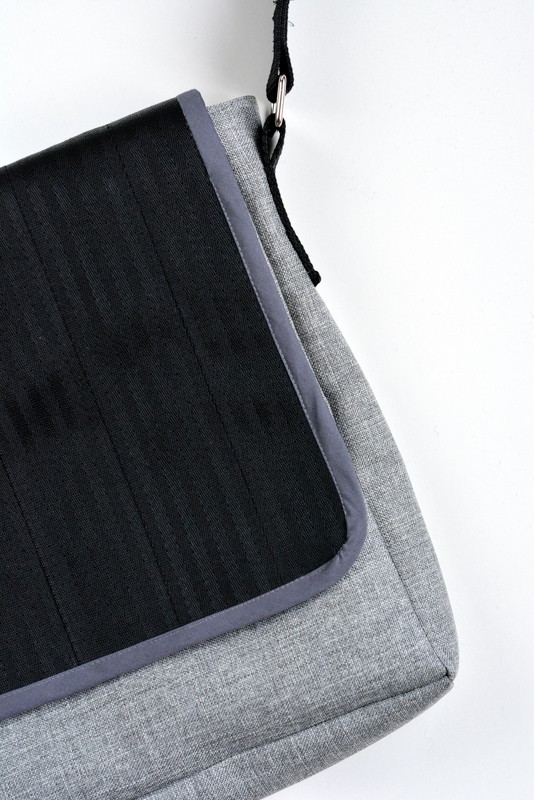
Fancy creating an alternative mans messenger bag utilising a car seat belt?? Regular readers will be familiar with my passion for bag making and recycling – this bag combines both.
Personally I think this bag is a great gift for a dad with a toddler, beyond the nappy bag stage but still needing to carry endless "stuff" around!
To make you will need:
Main bag fabric
12 1/2″ by 11″ three times
12 1/2″ by 3 1/2″ twice
3 1/2″ by 11″ once
Lining fabric
12 1/2″ by 11″ three times
12 1/2″ by 3 1/2″ twice
3 1/2″ by 11″ once
7 by 61/2″ pocket piece
Fusible fleece:
11 1/2″ by 10″ twice
11 1/2″ by 2 1/2″ twice
2 1/2″ by 10″ once
Iron on interfacing:
11 1/2″ by 10″ three times
11 1/2″ by 2 1/2″ twice
2 1/2″ by 10″ once
Car seat belt 2 metres
Bias binding 1 metre
Fabric glue
Fabric paint
Paint brush
Strap
Strap fixtures
To make:-
Paint the car design onto the lining fabric. You could create a print with lino. Or use a cookie cutter to print a line image of the car. Paint the edge of the cookie cutter and simply print onto the fabric. Use the cookie cutter to cut out a car design on a potato then potato print a solid car design on the pocket.
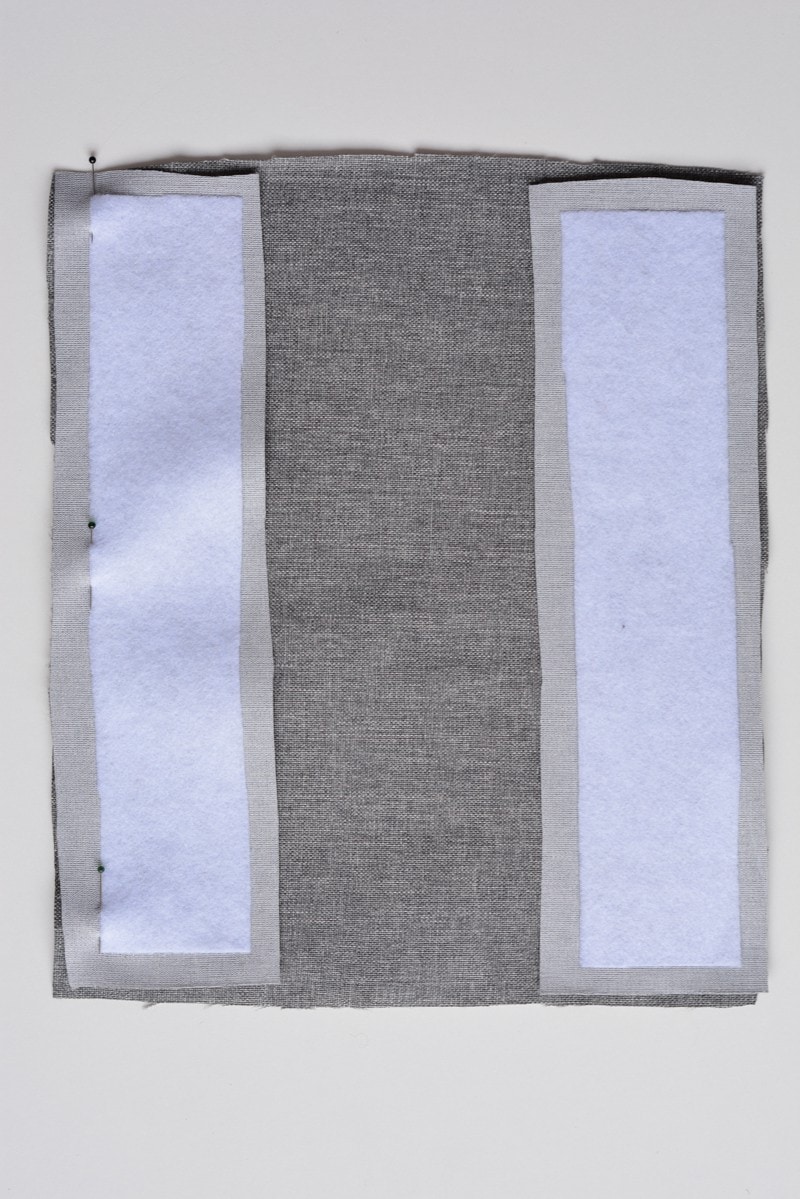
Iron fusible fleece to the back of the main fabric, leaving one piece of the main fabric with no fusible fleece on it (this is the flap of the bag).
Iron the interfacing to the back of the lining fabric.
Body of the bag
Pin the side panels to the front of the bag, right sides together. Stitch from the top of the bag down to the bottom of the fusible fleece. Stopping the seam here helps form the base of the bag easily.
Place the base of the bag along the bottom of the front panel and stitch along the edge of the fusible fleece. Stitch the base of the bag and side panels together along the fusible fleece line.
Pin and stitch the back of the bag panel to the sides and bag base.
Lining
Create the slip pocket. Fold over twice the top of the pocket and stitch. Press the sides and base of the pocket in half an inch. Pin centrally on one of the front/back panels of lining.
Double stitch round the sides and bottom of the pocket.
Flap of the bag
Cut seat belt fabric into five strips 12″ long. Using fabric adhesive carefully place down the flap panel, making sure they butt up as closely as possible.
Weight down with a heavy book until the glue is dry.
Once the glue is dry top stitch down the edge of each strap to ensure they are fully secured.
Place the lining of the flap right sides down, place the front of the flap on top right side facing you.
Curve the corners if you wish. Mark with tailors chalk a curve (I used a cup as a template) and trim the layers.
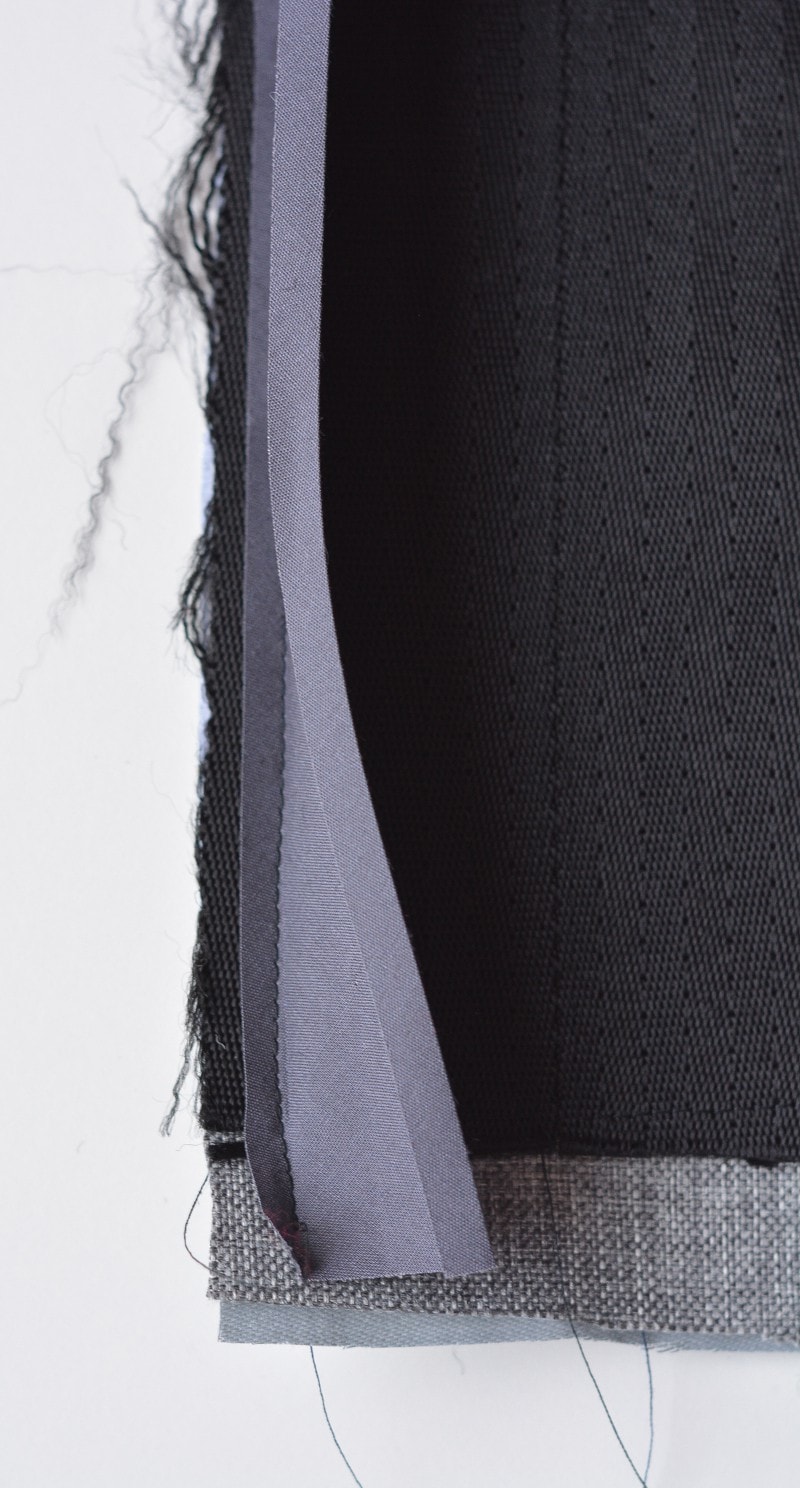
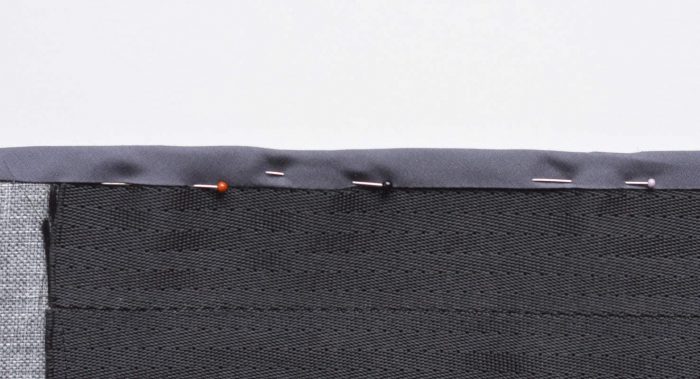
Pin your bias binding round the sides and bottom of the flap. Stitch in place.
Fold the bias binding over to the back, pin from the front ensuring you capture the back neatly, then top stitch in place.
Bag assembly
Strap handles – cut two pieces of strap 71/2″ long. Thread on metal loop. Place the strap in a loop on the side panel. Stitch in place securely, ensuring the join of the loop is beneath the stitches.
Place the flap onto the back of the bag. Work out the central point just in from the bottom of the flap and insert magnetic snap into the lining. Work out corresponding point on the front of the bag and insert the other half of the magnetic snap.
Pin then baste the flap along the back edge of the bag (right sides together).
Place the main bag inside the lining so the right sides are together. Pin in place.
Stitch around leaving a turning gap along the front of the bag.
Turn right side out. Turn in the raw edges along the turning gap and pin in place. Top stitch right round this seam (this secures the turning gap and provides a little extra strength to the bag)
Lastly add strap 60″ long using a slider for adjustable cross body strap.

Related posts:
Easter Eggs Decoration, Clay Stamped Easter Egg Tree
DIY Chest of Drawers (Post sponsored by Volkswagen)
References
- ^ DIY Bloggers for Volkswagen (de.pinterest.com)


